Customizing Blogger Header: Background Image
10 Feb 2007
Updating header background would vary a lot depending on the template chosen. Following sample is using the basic 'Minima White' template that usually selected by default on creating a blog.
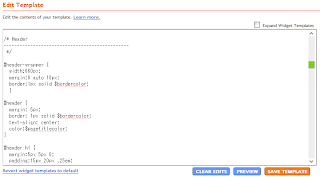
- Go to Edit HTML, on Template tab. (accessible from 'layout' link on Dashboard) as shown below:

- Scroll down the template to the 'Header' style section as shown below:

- See the following section:
#header-wrapper {
  width:660px;
  margin:0 auto 10px;
  border:1px solid $bordercolor;
  }
Note that "width:660px;" here means that the header size is 660 pixels. - Make yourself a cool image to put on that header, but remember that the width of the image should be 660 pixels.
- Upload the image somewhere. For this example, i uploaded my image to Imageshack, and got myself an URL for my uploaded image "http://img171.imageshack.us/img171/7676/booklogo2cj0.jpg"
- Replace "#header-wrapper" and "#header" style section from the original shown below:
#header-wrapper {
  width:660px;
  margin:0 auto 10px;
  border:1px solid $bordercolor;
  }

#header {
  margin: 5px;
  border: 1px solid $bordercolor;
  text-align: center;
  color:$pagetitlecolor;
}
with something like:#header-wrapper {
top:0px;
width:660px;
height:379px;
margin:0px;
padding:0px;
cursor: pointer;
}
#header {
top:0px;
margin: 0px;
padding:0px;
width:660px;
height:379px;
background: transparent url(http://img171.imageshack.us/img171/7676/booklogo2cj0.jpg) no-repeat top left;
text-align: center;
color:$pagetitlecolor;
} - Relevant things to notice on above update are:
- The "width" and "height" property should match with your uploaded image.
- Replace the image URL on "background" property with your image URL